How to use Viator’s Widget tool
With the Viator Widget tool, you can quickly and easily create widgets. The widget tool provides you with HTML code that you can copy and paste onto your website to start earning commission right away.
Getting started
Where to find the widget tool
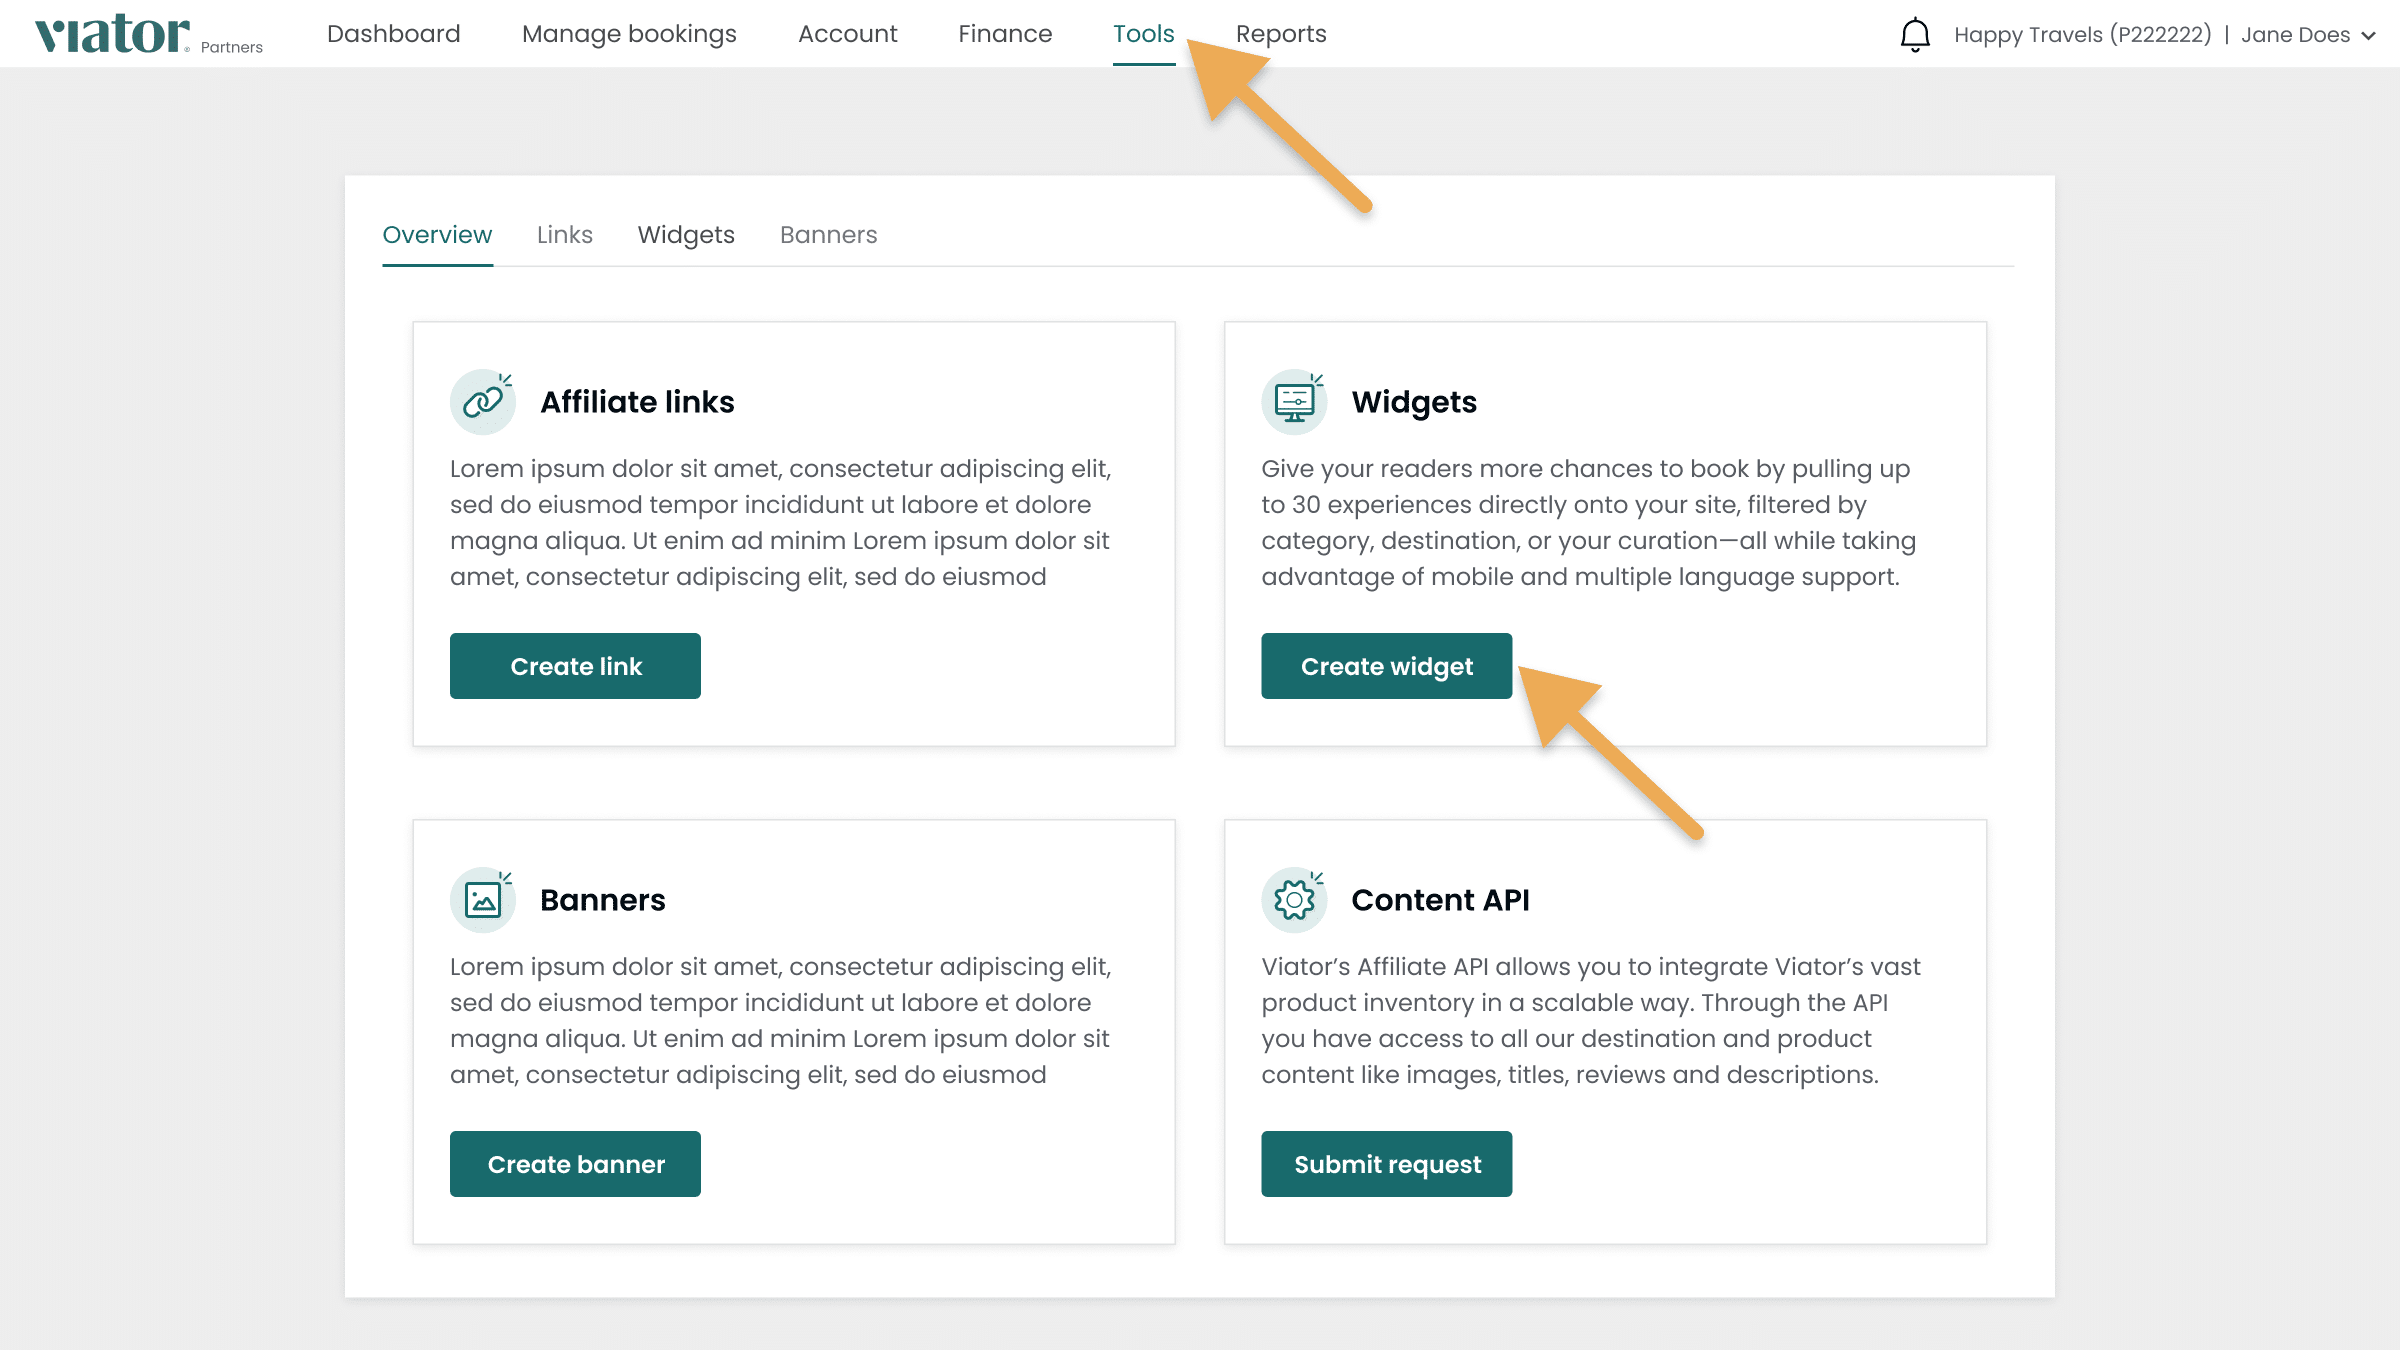
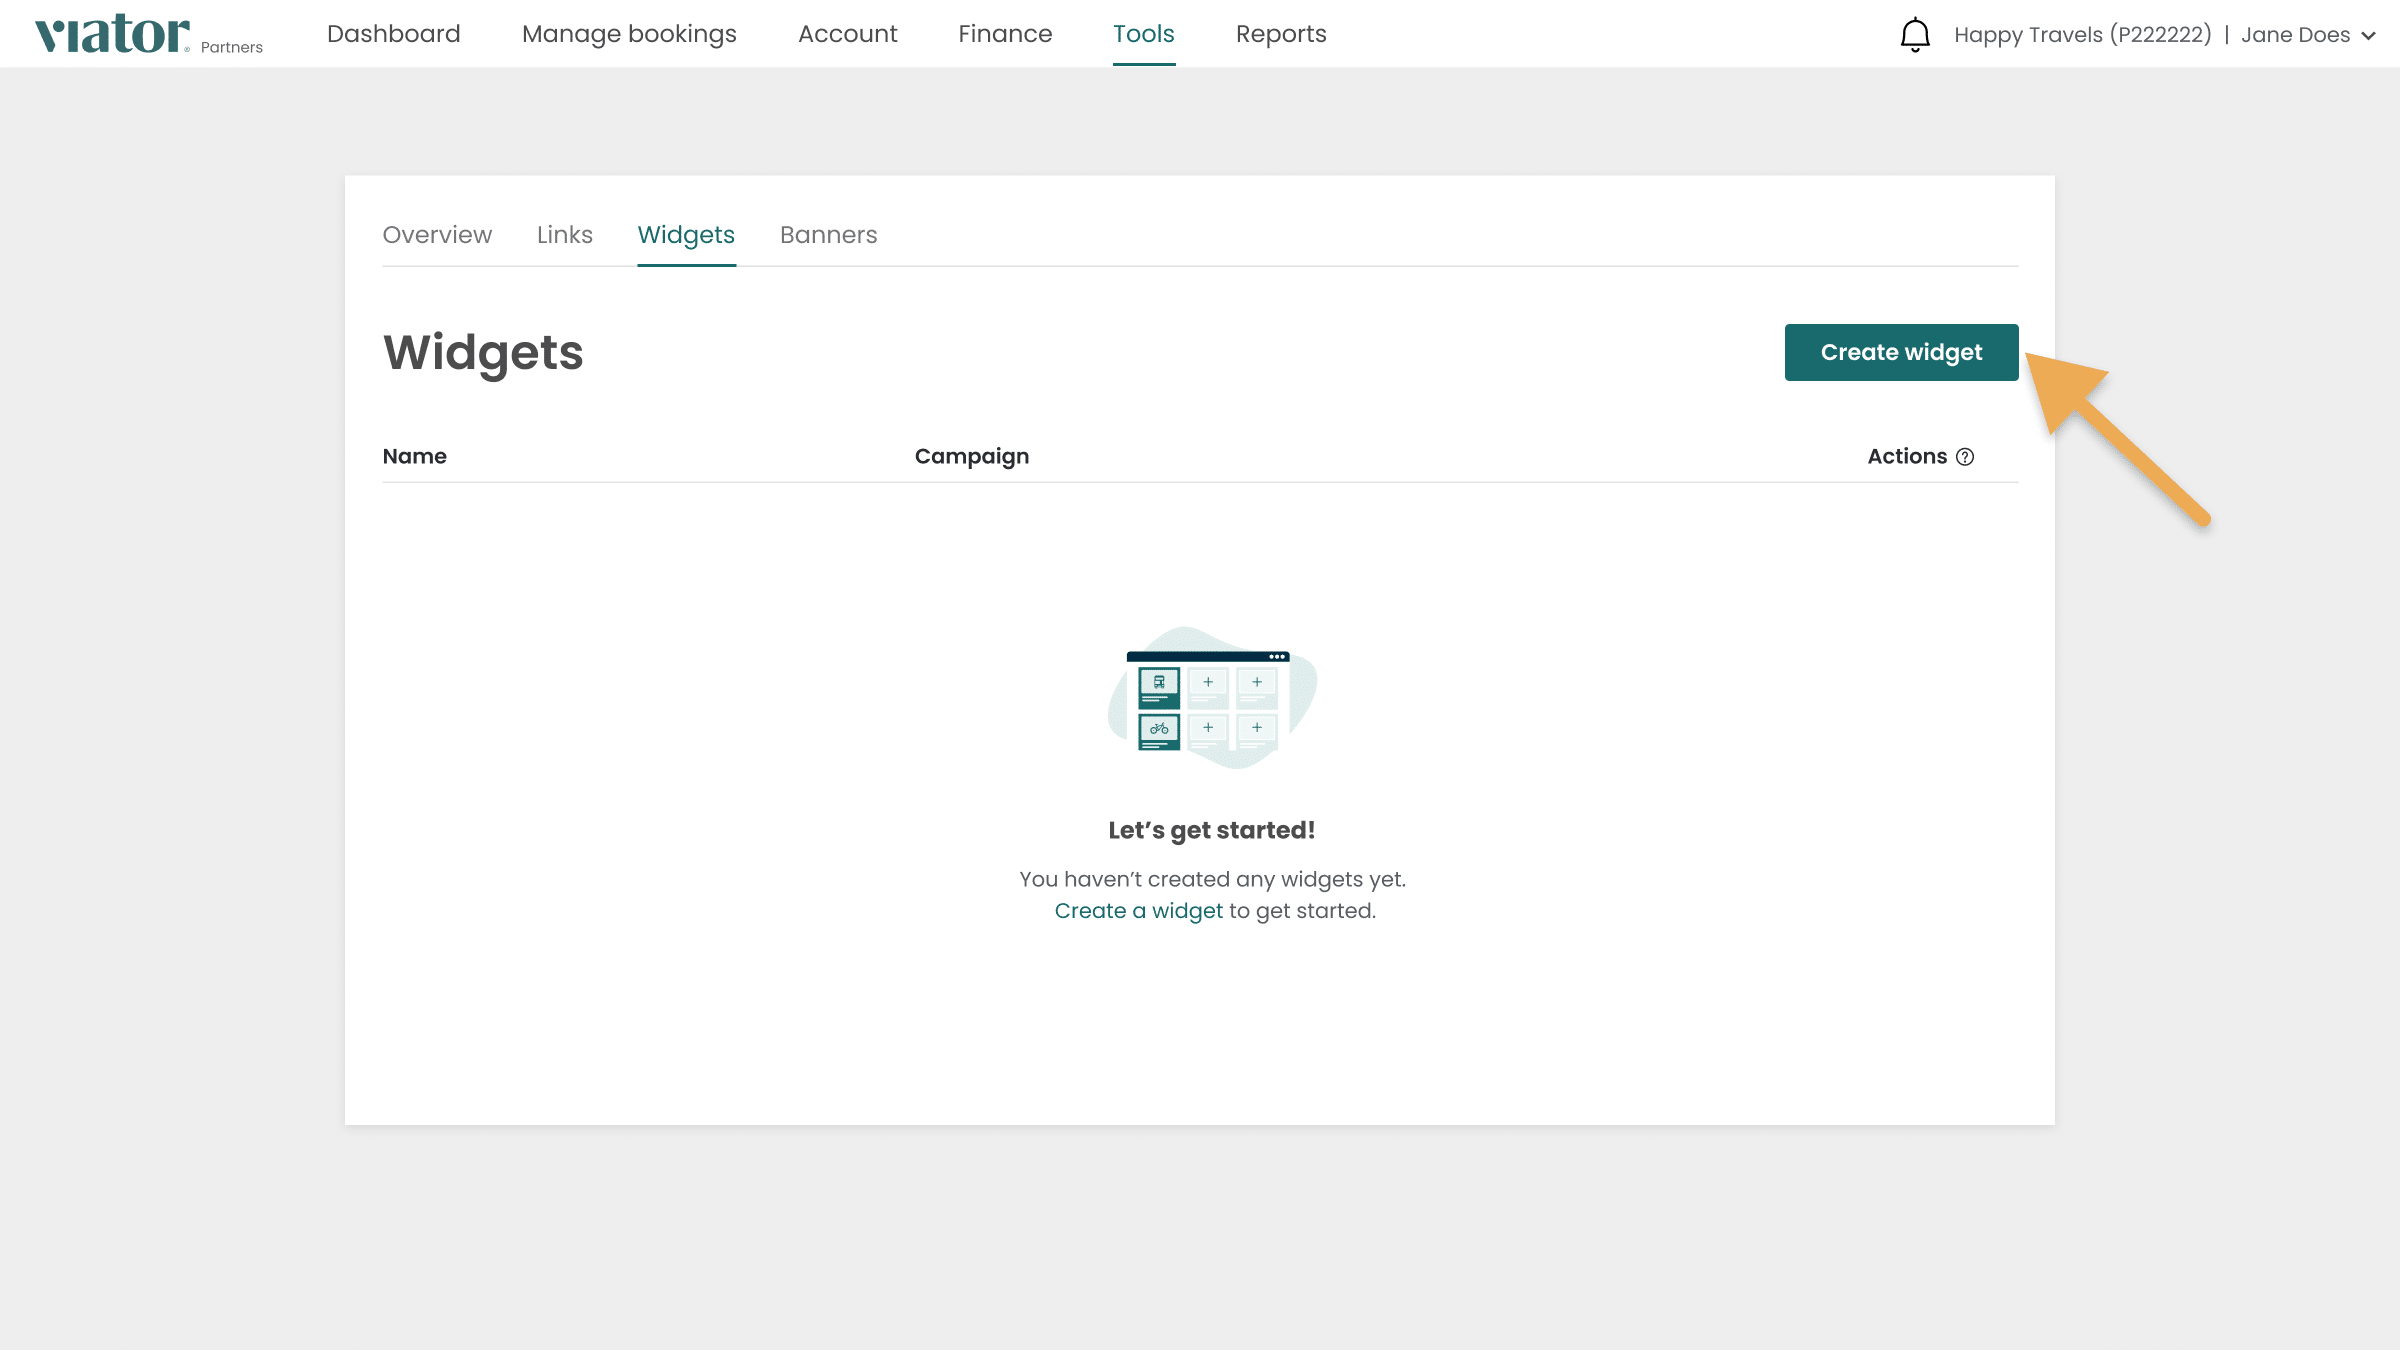
You can find the widget tool in the “Widgets” tab in the “Tools” section of your dashboard. Click “Create widget” to get started.
How to build a widget
Step 1
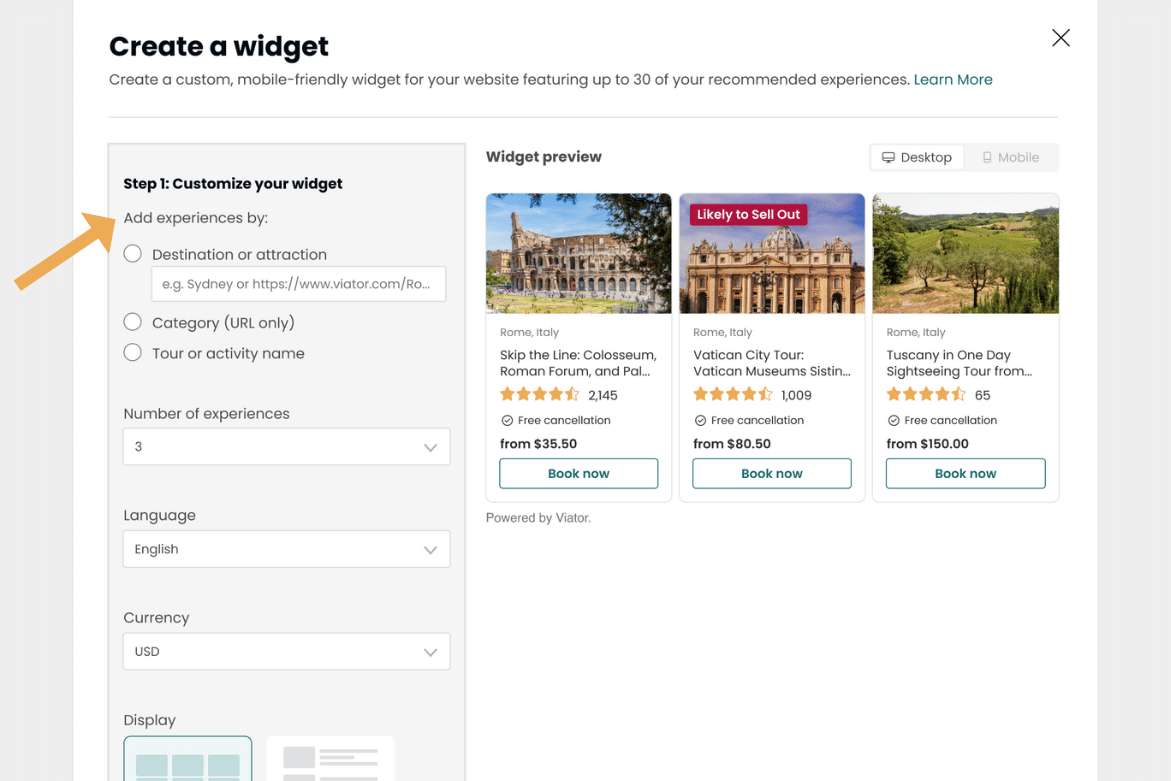
Choose whether you want to create your widget based on a destination or attraction, a category, or your own curated list of experiences.
- For a destination or attraction, simply use the search bar to find it or copy its URL and paste it into the widget tool.
- If you choose a category, search for it on selector.viator.com, copy its URL, and paste it into the widget tool.
- To build a widget using your own list of experiences, search for each tour or activity individually and copy its URL into the widget tool, with a limit of 30 per widget.
Step 2
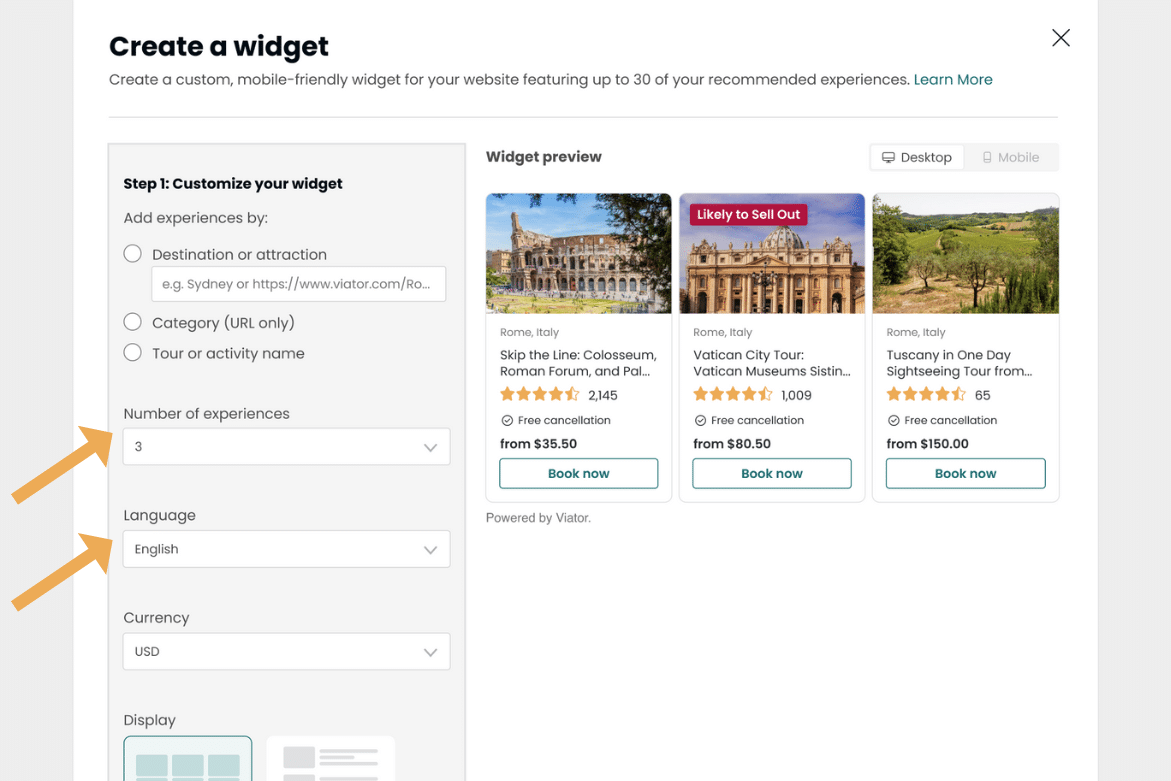
If you choose to create a widget based on a destination, attraction, or category, select the number of experiences you would like displayed in your widget.
Choose the language in which the widget should be displayed, the currency your widget will display, and whether you would like it displayed as a Grid or List.
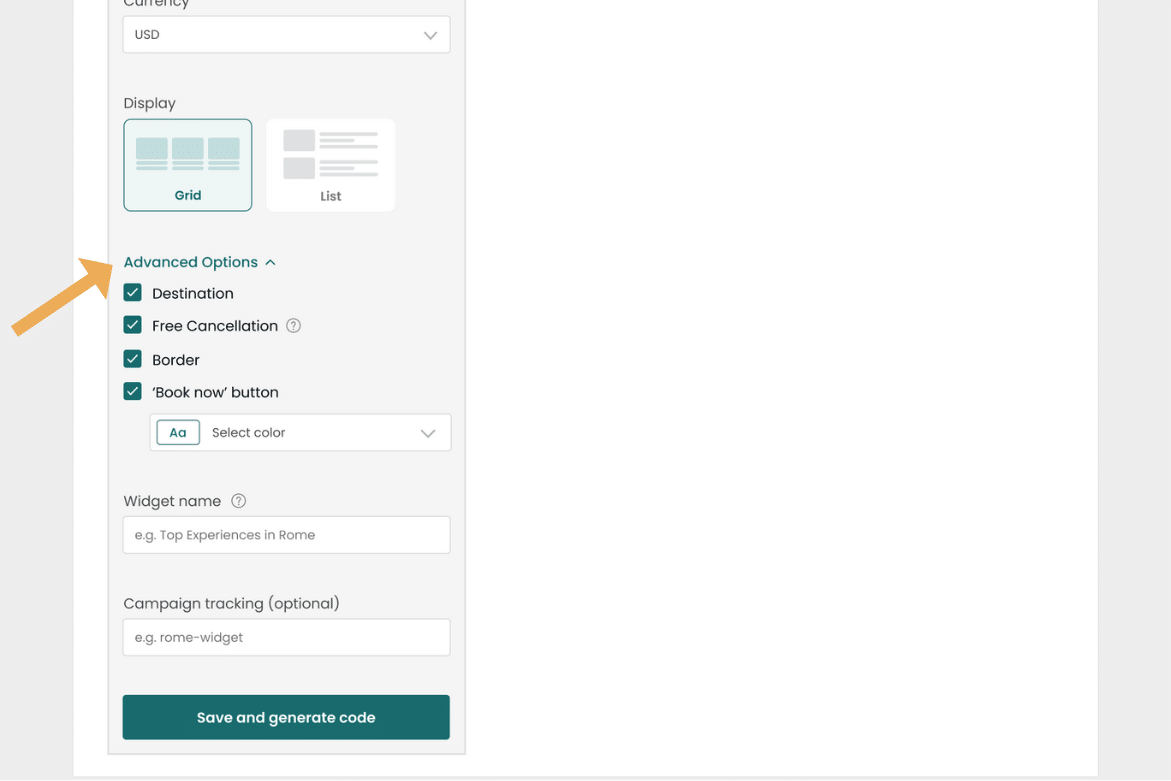
Step 3
Under “Advanced Options,” customize the appearance of the widget and the ‘Book now’ button to help the widget blend in with your site.
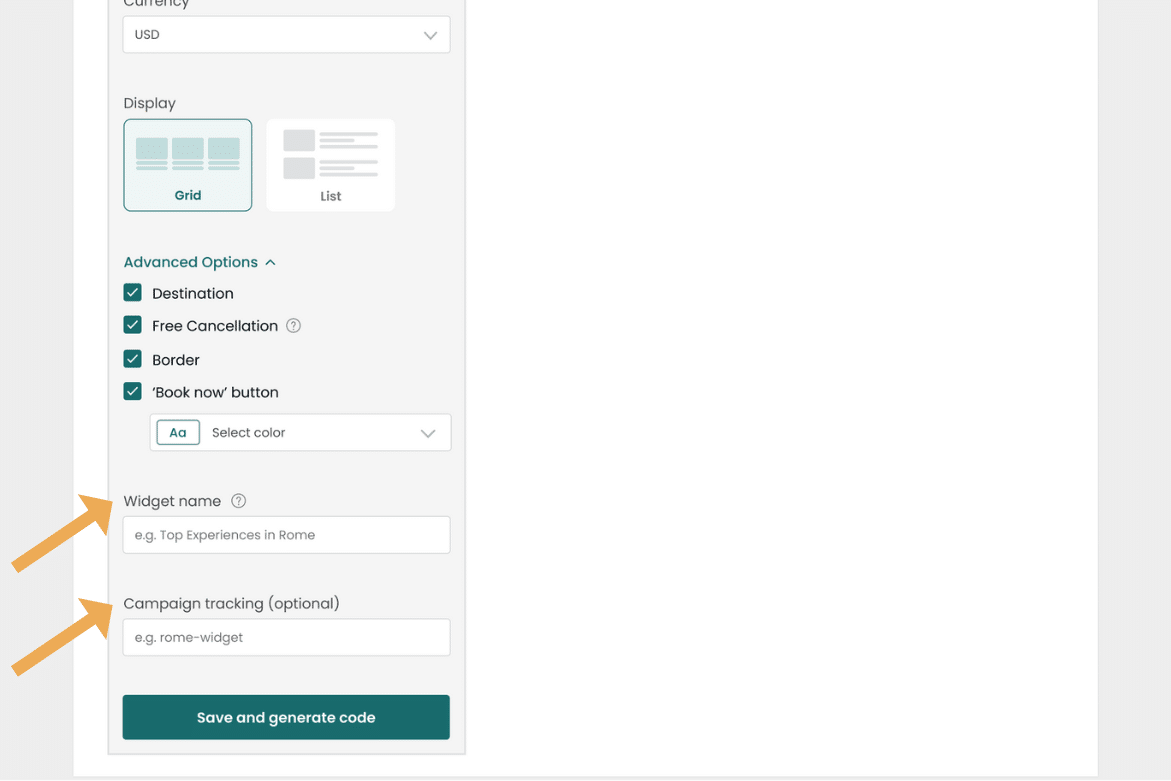
Step 4
Give your widget a name, which will appear in your dashboard for easy tracking. We recommend adding campaign tracking for each widget to connect them to specific content sections on your website and optimize your marketing efforts.
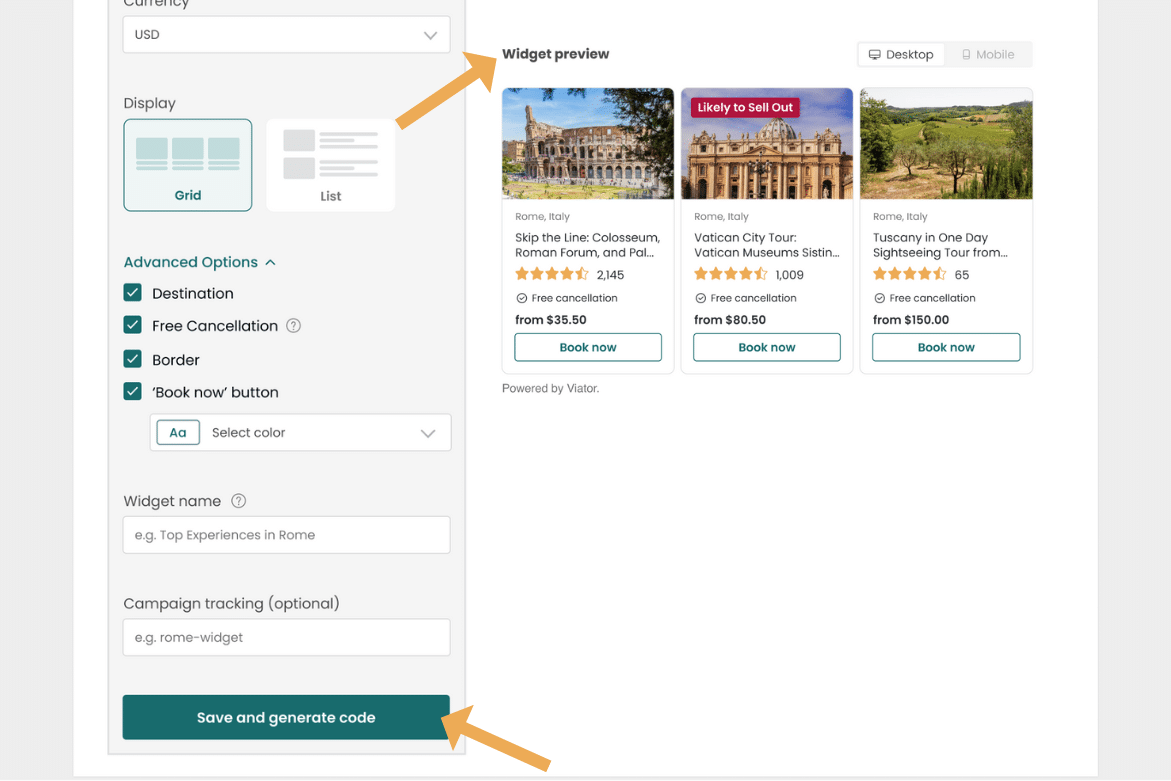
Step 5
Preview the widget on the right-hand side. Once you’re ready to generate the widget, click “Save and generate code,” copy the code, and add it to your website.
How to edit a widget
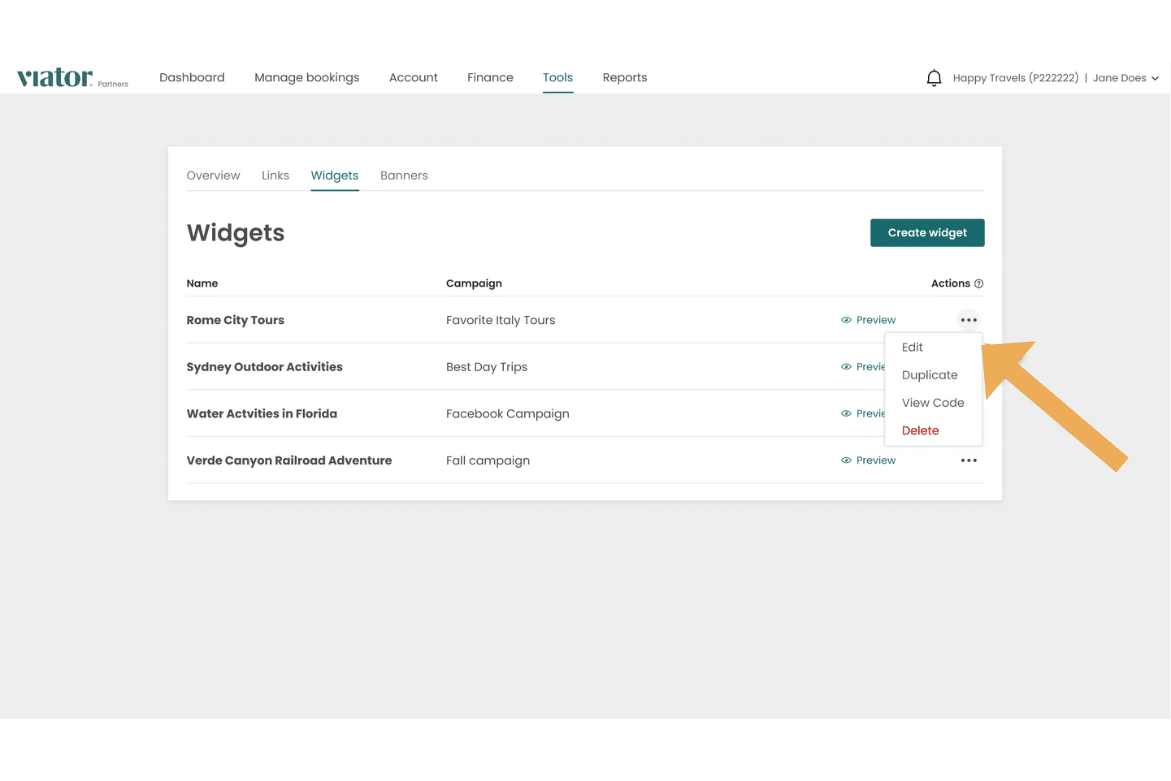
Step 1
Navigate to the “Widgets” tab in the “Tools” section of your dashboard. From here, find the widget you want to edit and click the three dots on the right side of your screen. You’ll see four options: Edit, Duplicate, View Code, and Delete. Click “Edit.”
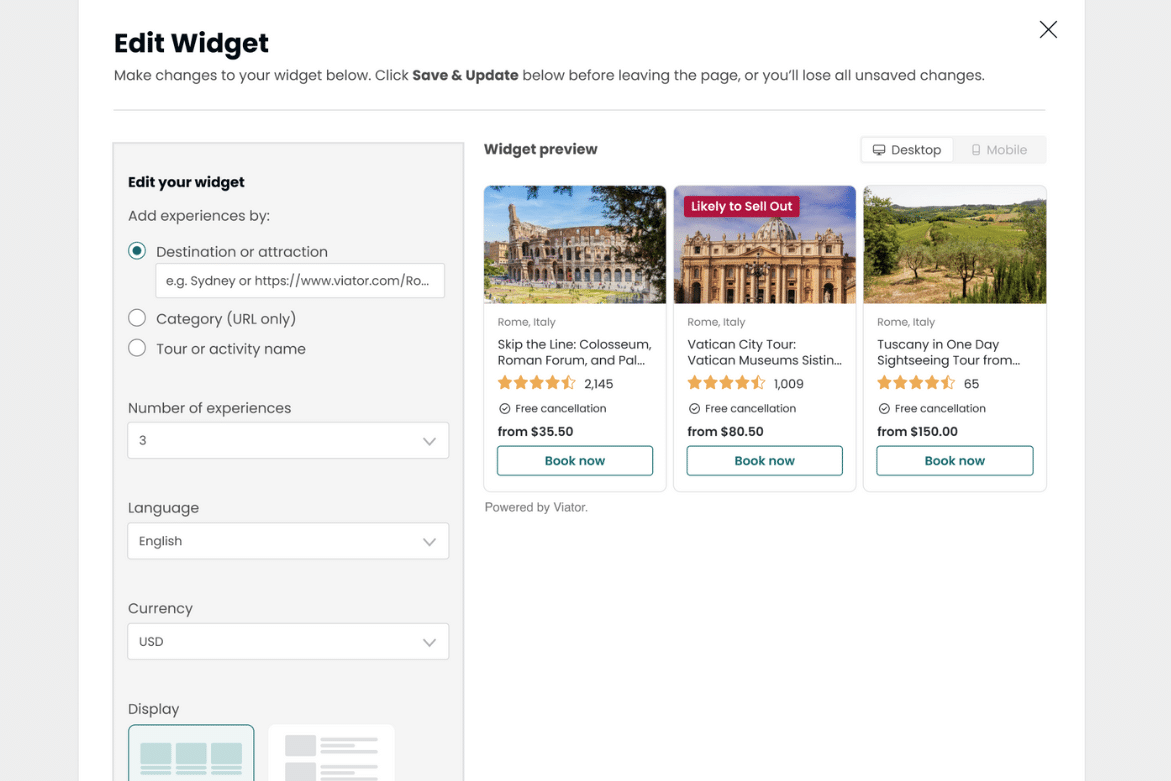
Step 2
From here, you can make changes to your widget. You can edit any part of the widget, including the destination, number of experiences, language, currency, and appearance.
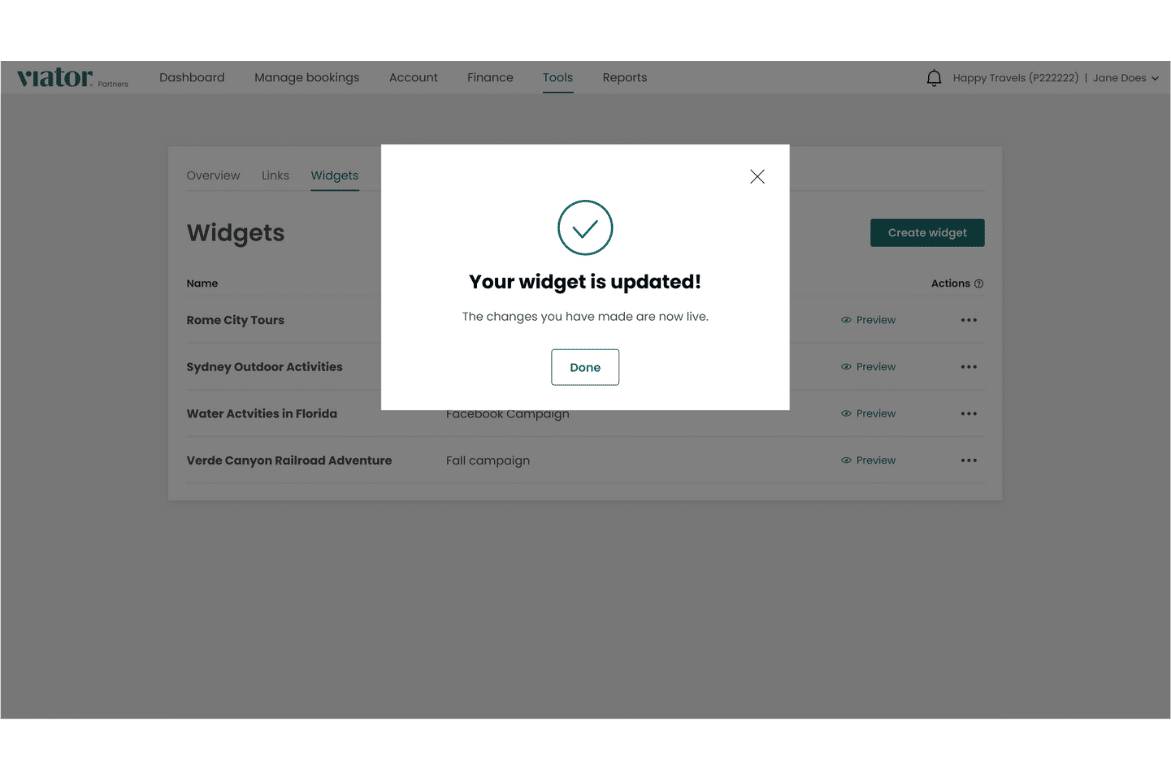
Step 3
When you’re finished editing your widget, there’s no need to copy the code again. Simply click “Save & Update” to save your changes. This will automatically update your live widget with the changes you’ve made.