Using the Viator Banner Builder
Our Banner Builder takes care of all the heavy lifting: you will not need to provide a design, copy/messaging, or even translations, allowing you to go to market with a viable affiliate solution that will be able to earn commission right away.
Getting started
Finding the Banner Builder
You can find the Banner Builder in the “Banners” tab in the “Tools” section of your account.

Where should I put banners?
When deciding where to put banners on your site, consider the following:
Make sure banners have good visibility
The goal of banners is to earn you commission. Because of that, you’ll want to place banners where your site visitors will notice them, such as locations above the fold.
Place banners on high traffic pages
In order to maximize your earning potential, as well as to get a quick read on performance, we recommend placing banners on pages with the highest traffic.
Do not place them in distracting locations
Be careful of banner blindness. Adding banners to an already congested page might not only hurt your chances of earning commission from banners, but could distract users from taking other actions on the page.
Creating banners
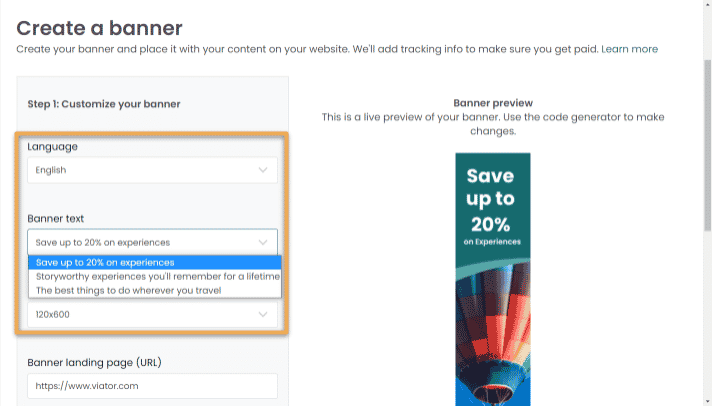
Step 1: Customize your banner by choosing language, banner text, and size
When deciding which size to choose, think about where you will ultimately place the banner. For example, the 120×600’s skyscraper proportions make it best suited for sidebar locations.
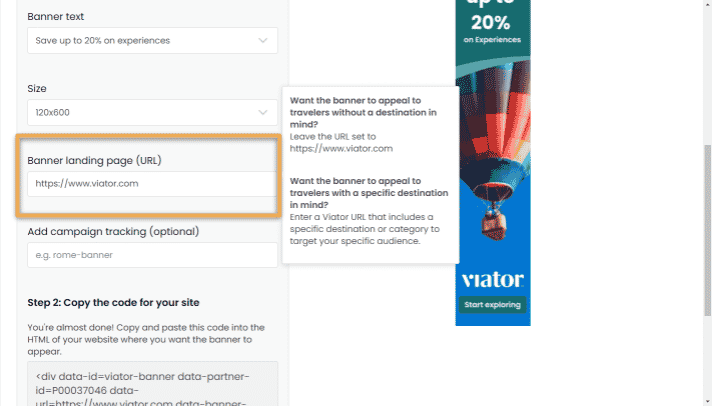
Step 2: Choosing your destination URL
You can use any viator.com link when building your banner. Generally, matching the content on your page to the destination URL is best practice (e.g. if you place a banner on a page about Rome, you should link the banner to our Rome Things to Do page).
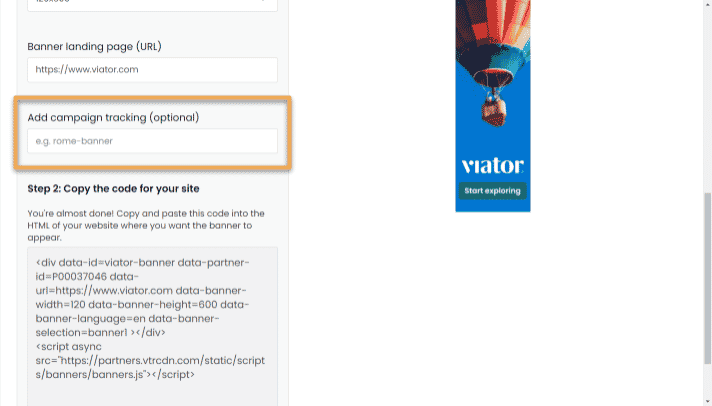
Step 3: Set up campaign tracking for better tracking and analytics
Setting up campaign tracking is especially important if you have multiple banners. This is the best way to get a clear reading on an individual banner’s performance.
Step 4: Track your success in your reporting dashboard
You’ll be able to see campaign-level reporting directly in your account dashboard. If you also use our links and widgets, make sure you filter to only see performance of your banners.
Test, analyze, adapt, and repeat
If this is your first time working with banner/display ads, you’ll want to take a multi-step approach to ensure you’re maximizing your conversion potential.
Test using campaign tracking
If you have multiple banners, you should leverage campaign tracking so you can have a clear picture of performance on a banner-by-banner basis. Different banner sizes, different placements on the same page, and placing banners on different pages across your site will all have an affect on performance. For accuracy, make sure you only test one element at a time (e.g. testing the placements of your banners before testing which banner size yields the highest conversion rate).
Analyzing your results
You’ll have a complete picture of your banners’ performance by viewing campaign-level performance directly in your account dashboard. The main metric you should use to identify success is conversion rate: focus on banner campaigns that have the highest conversion rate.
Adapting your approach
After performing your analysis and identifying your highest converting banners, take and apply your learnings. For example, you may find that our 728×90 banner size yields a higher conversion rate than the 120×600 size on blog posts, but the 120×600 size works best on sidebar locations.